段落1、简略介绍
NaïveProxy是一个基于谷歌浏览器的网络组建,进行数据包转发的套件,具体的用途,你们懂的呦,它最大的优势是TLS的流量指纹,是谷歌浏览器Chrome的,那个叫啥“泯然众人”,是的,流量就是特征就跟普通浏览器的一模一样了。
项目地址 https://github.com/klzgrad/naiveproxy
段落2、环境
美国服务器 1C-1G-15GB磁盘
本地Windows电脑
段落3、软件套装
Debian 10 系统
go语言环境
caddy环境,因为需要其正向代理的功能,Nginx目前不支持。
段落4、安装GO语言的环境
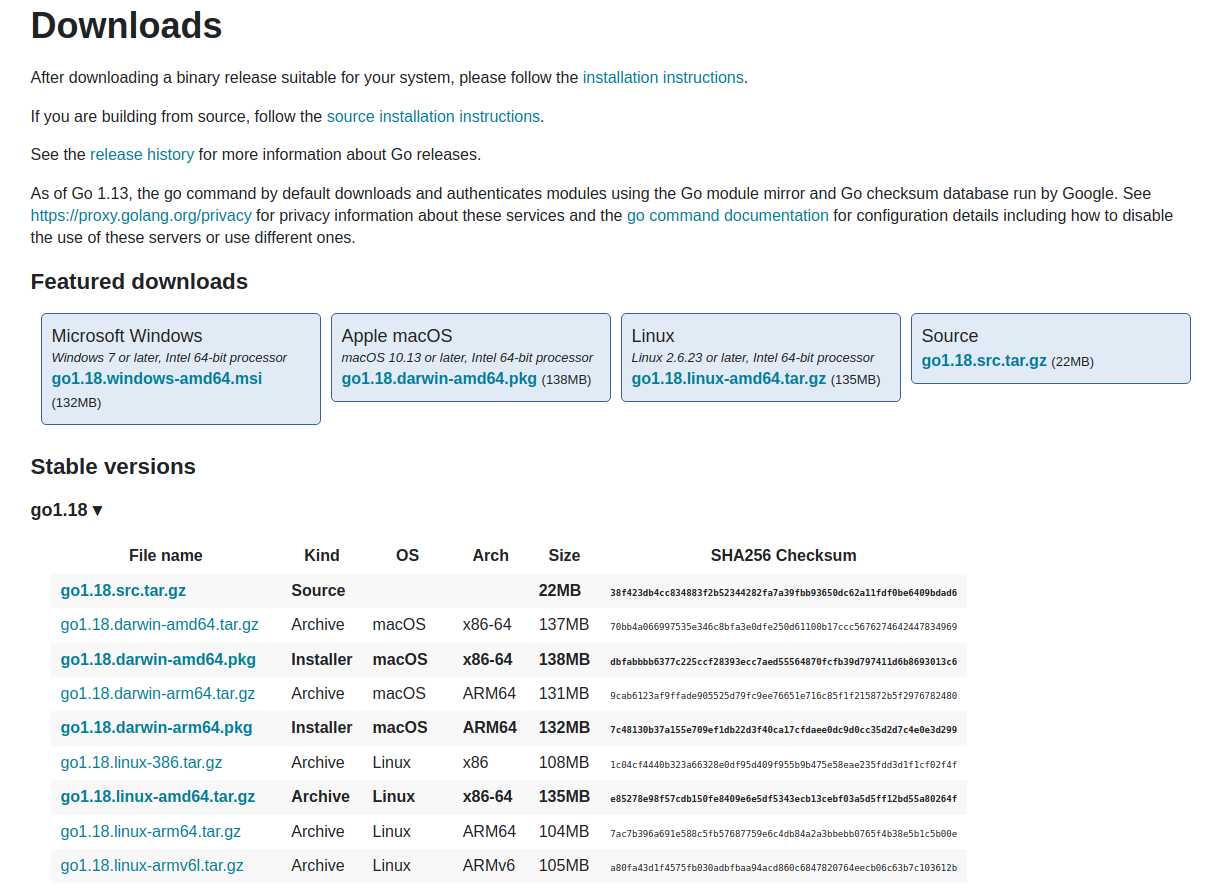
当前日期,go版本为1.18,但是,我这里需要安装go 1.17,因为go 1.18暂时还不支持qtls,如果有新版本,qtls功能支持了,你们到时候可以安装新版本。
root@server:~#  apt-get update
root@server:~#  apt-get install libnss3 debian-keyring debian-archive-keyring apt-transport-https   #安装依赖
root@server:~#  mkdir -p /root/src/ /usr/local/
root@server:~#  cd /root/src/
root@server:~#  wget https://go.dev/dl/go1.17.linux-amd64.tar.gz
root@server:~#  tar -zxvf go1.17.linux-amd64.tar.gz -C /usr/local/
root@server:~#  vi /etc/profile
#  /etc/profile 中添加 GO语言的 环境变量
export GOROOT=/usr/local/go
export PATH=$GOROOT/bin:$PATH
root@server:~#  source /etc/profile
root@server:~#  which go
/usr/local/go/bin/go
root@server:~#  go version
go version go1.17 linux/amd64
段落5、安装NaïveProxy和Caddy
需要安装NaïveProxy,且不是单独安装Caddy,务必按照命令执行。
以下命令,在服务器上执行,需要保证服务器到github的网络通畅。编译build需要一定的时间,看你服务器的CPU性能,耐心等待。
root@server:~# cd /root/src/
root@server:~# go install github.com/caddyserver/xcaddy/cmd/xcaddy@latest
root@server:~# ~/go/bin/xcaddy build --with github.com/caddyserver/forwardproxy@caddy2=github.com/klzgrad/forwardproxy@naive
root@server:~# cp caddy /usr/bin/
root@server:~# /usr/bin/caddy version        # 2022-4-8 23:09
v2.4.6 h1:HGkGICFGvyrodcqOOclHKfvJC0qTU7vny/7FhYp9hNw=
root@server:~# setcap cap_net_bind_service=+ep /usr/bin/caddy  # 设置bind权限,可443
安装日志记录
root@server:~#   go install github.com/caddyserver/xcaddy/cmd/xcaddy@latest
go: downloading github.com/caddyserver/xcaddy v0.2.1
go: downloading github.com/Masterminds/semver/v3 v3.1.1

root@server:~#   ~/go/bin/xcaddy build --with github.com/caddyserver/forwardproxy@caddy2=github.com/klzgrad/forwardproxy@naive
2022/04/08 04:15:51 [INFO] Temporary folder: /tmp/buildenv_2022-04-08-0415.1787806031
2022/04/08 04:15:51 [INFO] Writing main module: /tmp/buildenv_2022-04-08-0415.1787806031/main.go
2022/04/08 04:15:51 [INFO] Initializing Go module
2022/04/08 04:15:51 [INFO] exec (timeout=10s): /usr/local/go/bin/go mod init caddy
go: creating new go.mod: module caddy
go: to add module requirements and sums:
	go mod tidy
2022/04/08 04:15:51 [INFO] Replace github.com/caddyserver/forwardproxy => github.com/klzgrad/forwardproxy@naive
2022/04/08 04:15:51 [INFO] exec (timeout=10s): /usr/local/go/bin/go mod edit -replace github.com/caddyserver/forwardproxy=github.com/klzgrad/forwardproxy@naive
2022/04/08 04:15:51 [INFO] Pinning versions
2022/04/08 04:15:51 [INFO] exec (timeout=0s): /usr/local/go/bin/go get -d -v github.com/caddyserver/caddy/v2
go: downloading github.com/caddyserver/caddy/v2 v2.4.6
go: downloading github.com/caddyserver/caddy v1.0.5
...
日志非常多,不贴出来了……
...
/root/go/pkg/mod/github.com/lucas-clemente/quic-go@v0.23.0/internal/qtls/go118.go:5:13: cannot use "quic-go doesn't build on Go 1.18 yet." (untyped string constant) as int value in variable declaration
如果出现如下的报错提示,则需要降级GO语言环境
/root/go/pkg/mod/github.com/lucas-clemente/quic-go@v0.23.0/internal/qtls/go118.go:5:13: cannot use "quic-go doesn't build on Go 1.18 yet." (untyped string constant) as int value in variable declaration
报错提示,根据开发者说,暂时go 1.18还没有支持到qtls,所以,要安装go 1.17版本即可。

如果安装出现上面的报错,则把执行命令的目录下的缓存目录删掉,重新build即可。
如果提醒内容如下,表示build成功
go: downloading github.com/shurcooL/sanitized_anchor_name v1.0.0
go: downloading github.com/OneOfOne/xxhash v1.2.2
go: downloading github.com/spaolacci/murmur3 v1.1.0
go: downloading github.com/fsnotify/fsnotify v1.4.9
go: downloading golang.org/x/mod v0.4.2
go: downloading github.com/golang/groupcache v0.0.0-20210331224755-41bb18bfe9da
go: downloading github.com/klzgrad/forwardproxy v0.0.0-20210613072432-ff60d3bb5ad1
go: found github.com/caddyserver/forwardproxy in github.com/caddyserver/forwardproxy v0.0.0-00010101000000-000000000000
go: downloading github.com/klauspost/cpuid v1.2.5
2022/04/08 06:12:32 [INFO] exec (timeout=0s): /usr/local/go/bin/go build -o /root/src/caddy -ldflags -w -s -trimpath
2022/04/08 06:17:07 [INFO] Build complete: ./caddy
2022/04/08 06:17:07 [INFO] Cleaning up temporary folder: /tmp/buildenv_2022-04-08-0548.1309641503
段落6、Caddy的配置文件
通常大家都用的IPv4地址,故而,这里需要配置一个域名的A记录,指向你的服务器公网IPv4地址,且需要一套可信的证书文件,不要用自签的证书。
官方给到的配置示例
{
  servers {
    protocol {
      experimental_http3
    }
  }
}
:443, example.com
tls me@example.com
route {
  forward_proxy {
    basic_auth user pass
    hide_ip
    hide_via
    probe_resistance
  }
  file_server { root /var/www/html }
}
语法解释,官方地址 https://caddyserver.com/docs/json/
{
  servers {
    protocol {
      experimental_http3  # 启用 HTTP/3
    }
  }
}
:443, example.com   # example.com为服务器的A或者AAAA记录,域名
tls me@example.com   # 邮箱地址
route {
  forward_proxy {
    basic_auth user pass   # 自定义用户名和密码 #多用户就按照这个格式新增一行
    hide_ip
    hide_via
    probe_resistance  # 抗探测
  }
  reverse_proxy {another.website.domain} # 要反代的网站,二选一
  file_server { root /var/www/html } # 自检的网站,二选一
}
Dasmz提醒,目前来说,国内的网络环境,不推荐启用HTTP/3,因为它使用了QUIC/UDP,国内的运营商QoS,对此并不友好。
其他Caddy参数用法示例
forwardproxy {
    basicauth user1 password1
    basicauth user2 password2
    ports     80 443
    hide_ip
    hide_via
    probe_resistance secret-link-kWWL9Q.com # alternatively you can use a real domain, such as caddyserver.com
    serve_pac        /secret-proxy.pac
    response_timeout 30
    dial_timeout     30
    upstream         https://user:password@extra-upstream-hop.com
    acl {
      allow     *.caddyserver.com
      deny      192.168.1.1/32 192.168.0.0/16 *.prohibitedsite.com *.localhost
      allow     ::1/128 8.8.8.8 github.com *.github.io
      allowfile /path/to/whitelist.txt
      denyfile  /path/to/blacklist.txt
      allow     all
      deny      all # unreachable rule, remaining requests are matched by `allow all` above
    }
}
给到一个服务器的示范配置信息 2022-4-9
#  /etc/caddy/caddy_server.json
{
  "admin": {
    "disabled": true
  },
  "logging": {
    "sink": {
      "writer": {
        "output": "discard"
      }
    },
    "logs": {
      "default": {
        "writer": {
          "output": "discard"
        }
      }
    }
  },
  "apps": {
    "http": {
      "servers": {
        "srv0": {
          "listen": [
            ":18443"
          ],
          "routes": [
            {
              "handle": [
                {
                  "handler": "subroute",
                  "routes": [
                    {
                      "handle": [
                        {
                          "auth_pass_deprecated": "U",
                          "auth_user_deprecated": "P_75b8B1",
                          "handler": "forward_proxy",
                          "hide_ip": true,
                          "hide_via": true,
                          "probe_resistance": {}
                        }
                      ]
                    },
                    {
                      "match": [
                        {
                          "host": [
                            "server.my999999999.com"
                          ]
                        }
                      ],
                      "handle": [
                        {
                          "handler": "file_server",
                          "root": "/var/www/html",
                          "index_names": [
                            "index.html"
                          ]
                        }
                      ],
                      "terminal": true
                    }
                  ]
                }
              ]
            }
          ],
          "experimental_http3": false,
          "tls_connection_policies": [
            {
              "match": {
                "sni": [
                  "server.my999999999.com"
                ]
              }
            }
          ],
          "automatic_https": {
            "disable": true
          }
        }
      }
    },
    "tls": {
      "certificates": {
        "load_files": [
          {
            "certificate": "/root/server.my999999999.com/server.my999999999.com.cer",
            "key": "/root/server.my999999999.com/server.my999999999.com.key"
          }
        ]
      }
    }
  }
}
运行服务端
/usr/bin/caddy run --config /etc/caddy/caddy_server.json
段落7、配置服务
# /etc/systemd/system/naive.service
[Unit]
Description=Caddy
Documentation=https://caddyserver.com/docs/
After=network.target network-online.target
Requires=network-online.target

[Service]
Type=notify
User=caddy
Group=caddy
ExecStart=/usr/bin/caddy run --environ --config /etc/caddy/caddy_server.json
ExecReload=/usr/bin/caddy reload --config /etc/caddy/caddy_server.json
TimeoutStopSec=5s
LimitNOFILE=1048576
LimitNPROC=512
PrivateTmp=true
ProtectSystem=full
AmbientCapabilities=CAP_NET_BIND_SERVICE

[Install]
WantedBy=multi-user.target
段落8、客户端配置
到Release页面,下载 NaiveProxy 对应的客户端,解压执行,尽量用新版本的,修改config.json配置文件,编辑客户端配置文件,/etc/naive/config.json
{
  "listen": "socks://127.0.0.1:1080",
  "proxy": "https://U:P_75b8B1@server.my999999999.com:18443"
}
# 客户端执行
naive config.json
NaiveProxy 客户端配置(如果使用 HTTP3 则将 https:// 改为 quic://)
附录1、参考
XCADDY项目 https://github.com/caddyserver/xcaddy
https://www.oilandfish.com/posts/naiveproxy-caddy-2.html
https://raw.githubusercontent.com/proxysu/shellscript/master/Caddy-Naive/caddy-naive-install.sh