章节1、需求描述
基于Docker部署成品软件,是对于不会技术的人而言,已经变为一件非常简单的事情,Docker它主要解决了,多部件软体程序组装的问题,比如Nextcloud云盘这样的依赖LNMP环境的总集成软件成品。
在 基于docker快速部署Nextcloud私有云 https://dasmz.com/?p=510 这篇文章中,我给大家介绍了,使用Docker来部署Nextcloud私有云盘,及配套的硬盘挂载功能。
但是,有一点问题出来了,就是这样部署的Nextcloud云盘,里面的图片,视频,都是没有缩略图的,观看的时候,略微有点不方便,今天的这篇教材,就是来解决这个问题的。
如果不会安装Docker,建议参考官方教程,比较新,比较权威,详细,本人不做过多介绍,地址 https://docs.docker.com/engine/install/
章节2、环境描述
Ubuntu 20.04  10.11.11.115
Docker-CE版本 Docker version 20.10.14, build a224086
Nextcloud版本 23.0.4
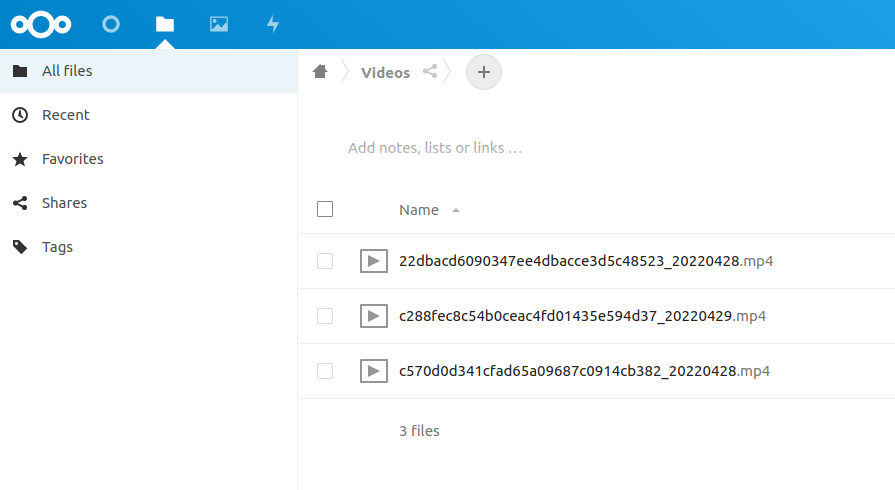
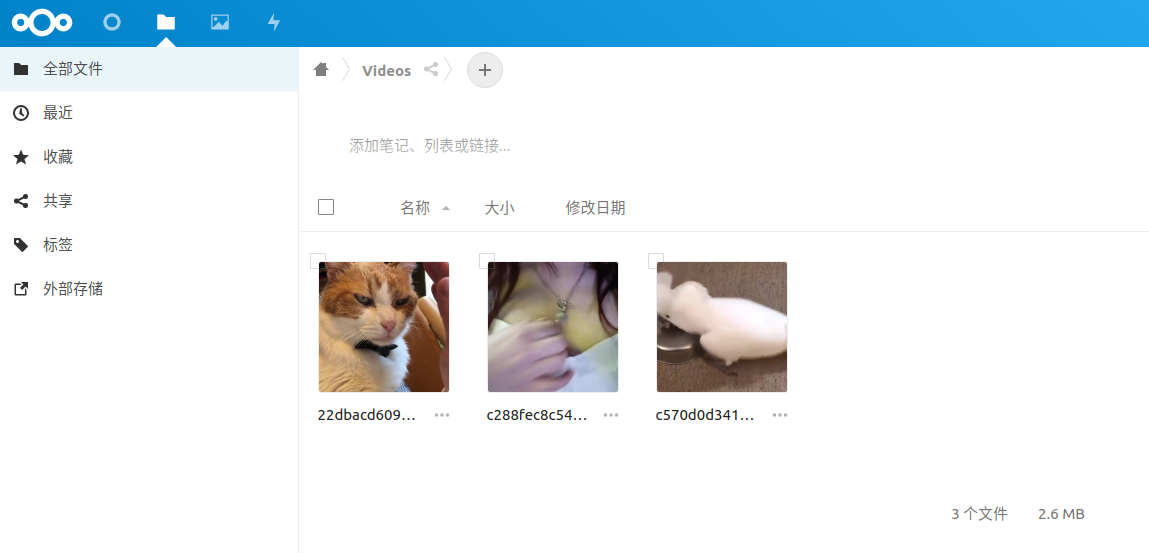
章节3、未修改前,所有的图片/视频都是无缩略图的样式,如下图
章节4、修改部署的步骤
前奏,开启一个测试用途的Nextcloud,并简单设置账号/密码,设置语言
root@ubuntu-server-01:~# docker pull nextcloud:latest
root@ubuntu-server-01:~# mkdir -p /var/www/nextcloud /media/vData
root@ubuntu-server-01:~# docker run -d --name myTestNextcloud -p 9888:80 -v /var/www/nextcloud:/var/www/html -v /media/HDD1TB:/var/www/vDISK nextcloud
4.1 安装必要的插件 Preview Generator
该APP的官方说明
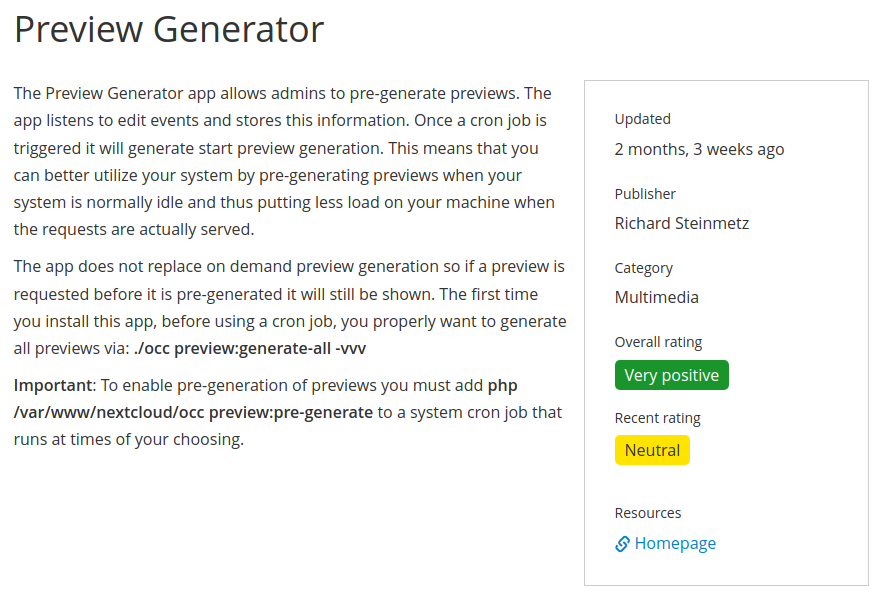
安装方式,一般为,在登录进Nextcloud后的,页面右上方,选择”+应用”,搜索”preview generator”,直接点击启用即可。
但是,总归有例外,目前安装的官方的Nextcloud的23.0里面,应用中没有preview generator,于是,只能通过命令方式离线安装
SSH登录服务器
root@ubuntu-server-01:~# cd /var/www/nextcloud/apps
root@ubuntu-server-01:~# git clone https://github.com/nextcloud/previewgenerator
root@ubuntu-server-01:~# docker ps -a
CONTAINER ID   IMAGE       COMMAND                  CREATED          STATUS          PORTS                                   NAMES
ecc310bcffc3   nextcloud   "/entrypoint.sh apac…"   37 minutes ago   Up 37 minutes   0.0.0.0:9888->80/tcp, :::9888->80/tcp   myTestNextcloud
root@ubuntu-server-01:~# docker restart ecc310bcffc3
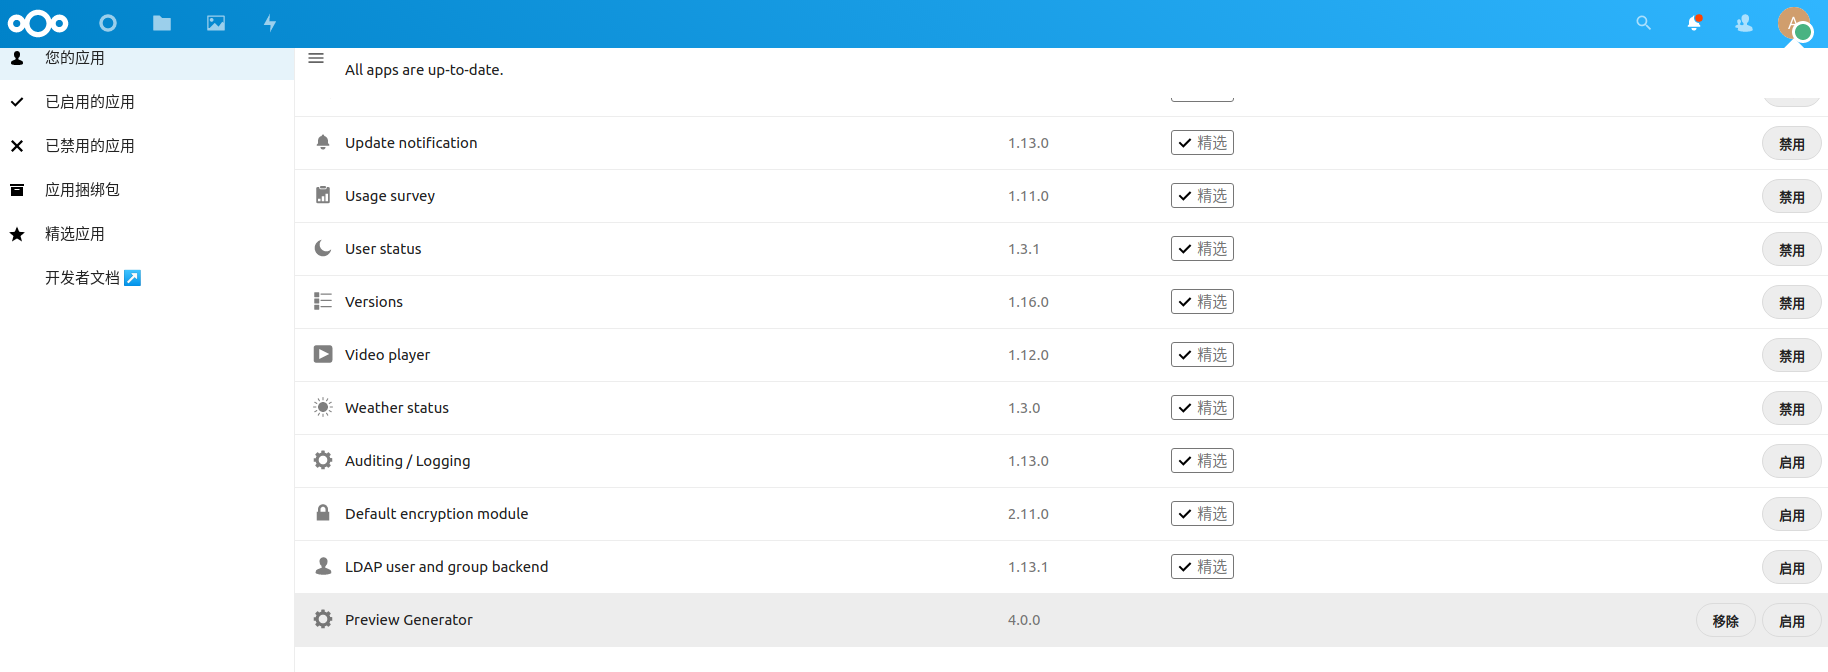
重启docker容器后,再通过浏览器登录Nextcloud管理页面,即可看到该APP,点击“启用”即可。
4.2 安装必要的解码 ffmpeg
由于我们是容器安装的,解码必须安装在容器内部,所以,如下的安装是在私有云容器中完成。
如果主要是为了看视频的,那就只需要安装ffmpeg,下面命令中的别的几个不需要安装。
2022-5-3 本次这个环境,安装的量大概是1.8GB
在容器内,安装好必要的组件后,直接退到主系统的环境,重启一下容器
root@ubuntu-server-01:~# docker exec -it  ecc310bcffc3 /bin/bash
Container# apt-get update
Container# apt-get install libreoffice ffmpeg imagemagick ghostscript
Container# CTRL + d
root@ubuntu-server-01:~# docker restart ecc310bcffc3
4.3 配置文件增加对应的文件格式,及配置定时任务刷新缩略图
修改配置文件 /var/www/nextcloud/config/config.php
'enable_previews' => true,
'preview_libreoffice_path' => '/usr/bin/libreoffice',
'enabledPreviewProviders' =>
 array (
    0 => 'OC\\Preview\\TXT',
    1 => 'OC\\Preview\\MarkDown',
    2 => 'OC\\Preview\\OpenDocument',
    3 => 'OC\\Preview\\PDF',
    4 => 'OC\\Preview\\MSOffice2003',
    5 => 'OC\\Preview\\MSOfficeDoc',
    6 => 'OC\\Preview\\Image',
    7 => 'OC\\Preview\\Photoshop',
    8 => 'OC\\Preview\\TIFF',
    9 => 'OC\\Preview\\SVG',
   10 => 'OC\\Preview\\Font',
   11 => 'OC\\Preview\\MP3',
   12 => 'OC\\Preview\\Movie',
   13 => 'OC\\Preview\\MKV',
   14 => 'OC\\Preview\\MP4',
   15 => 'OC\\Preview\\AVI',
 ),
如果只要视频缓存,可选配置参数
  'enable_previews' => true,
  'enabledPreviewProviders' =>
   array (
      0 => 'OC\\Preview\\Image',
      1 => 'OC\\Preview\\MP3',
      2 => 'OC\\Preview\\Movie',
      3 => 'OC\\Preview\\MKV',
      4 => 'OC\\Preview\\MP4',
      5 => 'OC\\Preview\\AVI',
   ),
配置文件修改增加好对应的格式内容后,重启容器,直接手工刷新一次
root@ubuntu-server-01:~# docker restart ecc310bcffc3
root@ubuntu-server-01:~# docker exec --user www-data ecc310bcffc3 php occ preview:generate-all

章节5、修改完成后的效果
章节6、配置定时刷新缩略图的任务
配置一个系统定时cron任务,让它每小时执行一次即可
root@ubuntu-server-01:~# crontab -e
 0 * * * * docker exec --user www-data ecc310bcffc3 php occ preview:generate-all
附录1、原创文章,手打码字,赞赏支持原创文章
附录2、参考链接
https://apps.nextcloud.com/apps/previewgenerator
https://apps.nextcloud.com/apps/previewgenerator/releases?platform=21
如23.0的下载链接